Performing regular water changes is one of the most important parts of maintaining a healthy aquarium. Water changes help remove accumulated waste, dilute nitrate, replace depleted minerals, and improve overall water quality. However, changing aquarium water is not simply a matter of removing old water and adding new water.
If a water change is performed incorrectly, sudden differences in temperature, pH, hardness, or other water conditions can stress fish and other aquatic animals. Cleaning too aggressively can also disturb the beneficial biological system that helps process fish waste.
The good news is that safe aquarium water changes are relatively simple once you establish a consistent routine. The key is to prepare replacement water properly, remove an appropriate amount of aquarium water, clean the tank without disrupting its biological balance, and match the new water to the aquarium as closely as practical.
Here is a beginner-friendly guide to performing a safe aquarium water change.
1. Why Are Aquarium Water Changes Necessary?
Even a well-filtered aquarium gradually accumulates substances that filtration alone cannot completely remove.
Fish produce waste, uneaten food breaks down, and organic material decomposes. As the nitrogen cycle processes waste, nitrate can accumulate in the water.
Water changes help dilute these accumulated substances and restore better water conditions.
Regular water changes can help:
- Control nitrate buildup
- Remove dissolved waste
- Improve water quality
- Replace certain minerals
- Reduce accumulated pollutants
- Support long-term fish health
A filter is essential, but it does not eliminate the need for water changes.
Think of the filter as part of the aquarium's waste-processing system, while water changes help remove what has accumulated over time.
2. How Often Should You Change Aquarium Water?
There is no single schedule that works for every aquarium.
The ideal frequency depends on:
- Aquarium size
- Number of fish
- Fish size and waste production
- Feeding habits
- Filtration
- Live plants
- Nitrate levels
- Overall water quality
For many home aquariums, a regular partial water change of around 10% to 25% per week can be a useful starting point. Some tanks may need more frequent or larger changes, while lightly stocked aquariums may require less frequent maintenance.
Water testing can help you determine whether your current routine is working.
If nitrate consistently rises faster than expected or other water-quality issues appear, your maintenance routine may need adjustment.
The goal is consistency rather than waiting until the aquarium looks dirty.
3. Prepare the Replacement Water First
One of the most important steps in a safe water change is preparing the replacement water correctly.
Tap water may contain chlorine or chloramine, which are commonly used in municipal water supplies. These substances can harm fish and beneficial bacteria if untreated water is added directly to an aquarium.
Use an appropriate aquarium water conditioner according to the manufacturer's instructions.
You should also consider the temperature of the replacement water.
Water that is significantly warmer or colder than the aquarium can cause unnecessary stress. Try to make the replacement water reasonably close to the aquarium's existing temperature.
Before starting the water change, have everything ready:
- Clean bucket dedicated to aquarium use
- Gravel vacuum or siphon
- Aquarium water conditioner
- Thermometer
- Replacement water
- Towel for spills
- Optional algae scraper or cleaning pad
A little preparation makes the entire process safer and easier.
4. Never Use a Bucket That Has Held Cleaning Chemicals
This simple precaution is extremely important.
Do not use a bucket that has previously been used for:
- Bleach
- Floor cleaner
- Dish soap
- Laundry detergent
- Other household chemicals
Even small chemical residues can be dangerous to fish.
It is best to keep a bucket specifically for aquarium maintenance and use it only for that purpose.
The same principle applies to sponges, scrubbers, and other cleaning equipment.
Household cleaning products should never be used inside an aquarium.
5. Turn Off Equipment When Appropriate
Before removing a significant amount of water, check your aquarium equipment.
Depending on the aquarium setup, you may need to turn off or unplug:
- Heater
- Filter
- Air pump
- Other equipment that could be affected by lowered water levels
A heater can become damaged if part of it is exposed to air while operating.
Always follow the manufacturer's safety instructions for your equipment.
If your filter and other equipment can safely continue operating during a minor water change, follow the equipment manufacturer's recommendations. When in doubt, temporarily switching equipment off during the procedure can reduce the risk of accidental damage.
Remember to restart the equipment once the water level is restored.
6. Remove an Appropriate Amount of Aquarium Water
The next step is to remove a portion of the old aquarium water.
A gravel vacuum or siphon is ideal because it allows you to remove water while also collecting debris from the substrate.
For routine maintenance, avoid removing nearly all of the aquarium water.
Large, unnecessary water changes can create sudden changes in water chemistry and temperature.
Instead, remove a controlled amount based on your maintenance routine and water-test results.
Many aquariums can be maintained effectively with moderate partial changes rather than complete water replacement.
The aim is to improve water quality while maintaining stability.
7. Vacuum the Substrate Carefully
The bottom of the aquarium can collect:
- Fish waste
- Uneaten food
- Plant debris
- Other organic material
A gravel vacuum can help remove this material during a water change.
However, you do not need to aggressively clean every inch of the substrate every time.
Beneficial bacteria live on aquarium surfaces, including substrate, so excessive cleaning can disturb the biological environment.
Focus on areas where visible waste has accumulated.
If you have a planted aquarium, be especially careful around plant roots. Excessive substrate disturbance can damage plants or release large amounts of debris into the water.
A gentle, targeted approach is usually better than trying to make the substrate completely spotless.
8. Clean Aquarium Glass During the Water Change
A water change is a convenient time to remove excessive algae from the aquarium glass.
Use an aquarium-safe algae scraper, magnetic cleaner, or suitable cleaning pad.
Clean only what needs attention.
A small amount of algae is normal in many aquariums and does not necessarily indicate a problem.
If algae are growing extremely quickly, look beyond the glass and investigate possible causes such as:
- Excessive lighting
- Direct sunlight
- Overfeeding
- High nutrient levels
- Poor maintenance
Cleaning the glass improves appearance, but correcting the underlying cause prevents algae from continually returning.
9. Inspect Decorations and Plants
While performing a water change, take a moment to inspect the aquarium's decorations and plants.
Look for:
- Dead leaves
- Decaying plant material
- Excessive algae
- Accumulated waste
- Damaged decorations
- Objects blocking equipment
Remove dead or heavily decaying plant material where appropriate.
Do not remove every decoration from the aquarium simply because it has a small amount of algae or natural biofilm.
Aquarium surfaces are part of the established ecosystem.
Routine maintenance should focus on removing excess waste and keeping the aquarium functional rather than repeatedly stripping everything down.
10. Clean the Filter Carefully
The filter is one of the most important parts of the aquarium's biological system, so filter maintenance should be approached carefully.
Mechanical media such as sponges and pads can collect significant amounts of debris. When they become clogged, water flow may decrease.
Reusable filter media can often be gently cleaned using water removed from the aquarium during a water change.
This is useful because untreated tap water may contain disinfectants that can harm beneficial bacteria.
Avoid aggressively washing or replacing all biological media at the same time.
The goal is to remove excessive debris while preserving the beneficial microorganisms that help process fish waste.
Always follow the manufacturer's cleaning and replacement instructions for your specific filter.
11. Match the Replacement Water as Closely as Practical
Once you have removed the appropriate amount of old aquarium water, prepare the replacement water.
The new water should be:
Conditioned: Treat tap water appropriately to address chlorine or chloramine.
Temperature-appropriate: Try to keep it reasonably close to the aquarium's existing temperature.
Suitable for the livestock: Consider the water requirements of the fish and other animals you keep.
You do not necessarily need the replacement water to have exactly identical chemistry in every situation. However, avoiding sudden and dramatic differences is important.
This is especially relevant for aquariums containing sensitive fish, shrimp, or other aquatic animals.
12. Add the New Water Slowly
Pouring replacement water directly into the aquarium can disturb the substrate, plants, or decorations.
Adding water slowly is safer and more controlled.
You can pour the water against a clean plate, shallow container, or other aquarium-safe surface to reduce the force of the water entering the tank.
This can help prevent:
- Substrate disturbance
- Cloudy water
- Uprooted plants
- Displaced decorations
Take your time rather than rushing the refill.
A gentle refill can make a significant difference to how stable the aquarium looks immediately after maintenance.
13. Check the Temperature After Refilling
Once the water change is complete, check the aquarium temperature.
The water should be appropriate for your fish and reasonably stable.
If the temperature is significantly different, determine why before assuming the problem will correct itself.
Large temperature shifts can cause unnecessary stress, particularly in tropical fish.
This is one reason preparing replacement water in advance is so helpful.
Do not rely solely on how the water feels to your hand. Human skin is not a reliable thermometer for aquarium water.
Use an aquarium thermometer instead.
14. Restart the Aquarium Equipment
After the water level has been restored, check your equipment.
Make sure:
- Filter is running
- Heater is correctly positioned and operating
- Air pump is functioning
- Water is circulating
- Filter intake is unobstructed
- No equipment is running dry
Watch the aquarium for several minutes after restarting equipment.
Check for unusual sounds, leaks, weak water flow, or anything that appears different from normal.
A water change is also a convenient time to notice equipment problems before they become serious.
15. Avoid Removing or Replacing Everything at Once
One of the biggest aquarium-maintenance mistakes is trying to perform a complete reset every time the tank needs cleaning.
Avoid unnecessarily:
- Replacing all filter media
- Removing all decorations
- Deep-cleaning all substrate
- Scrubbing every surface
- Changing nearly all the water
- Removing beneficial biofilm from established surfaces
An aquarium is a living ecosystem.
Beneficial bacteria are established throughout the tank, particularly in biological filter media and other surfaces.
Routine maintenance should preserve this biological environment rather than repeatedly starting over.
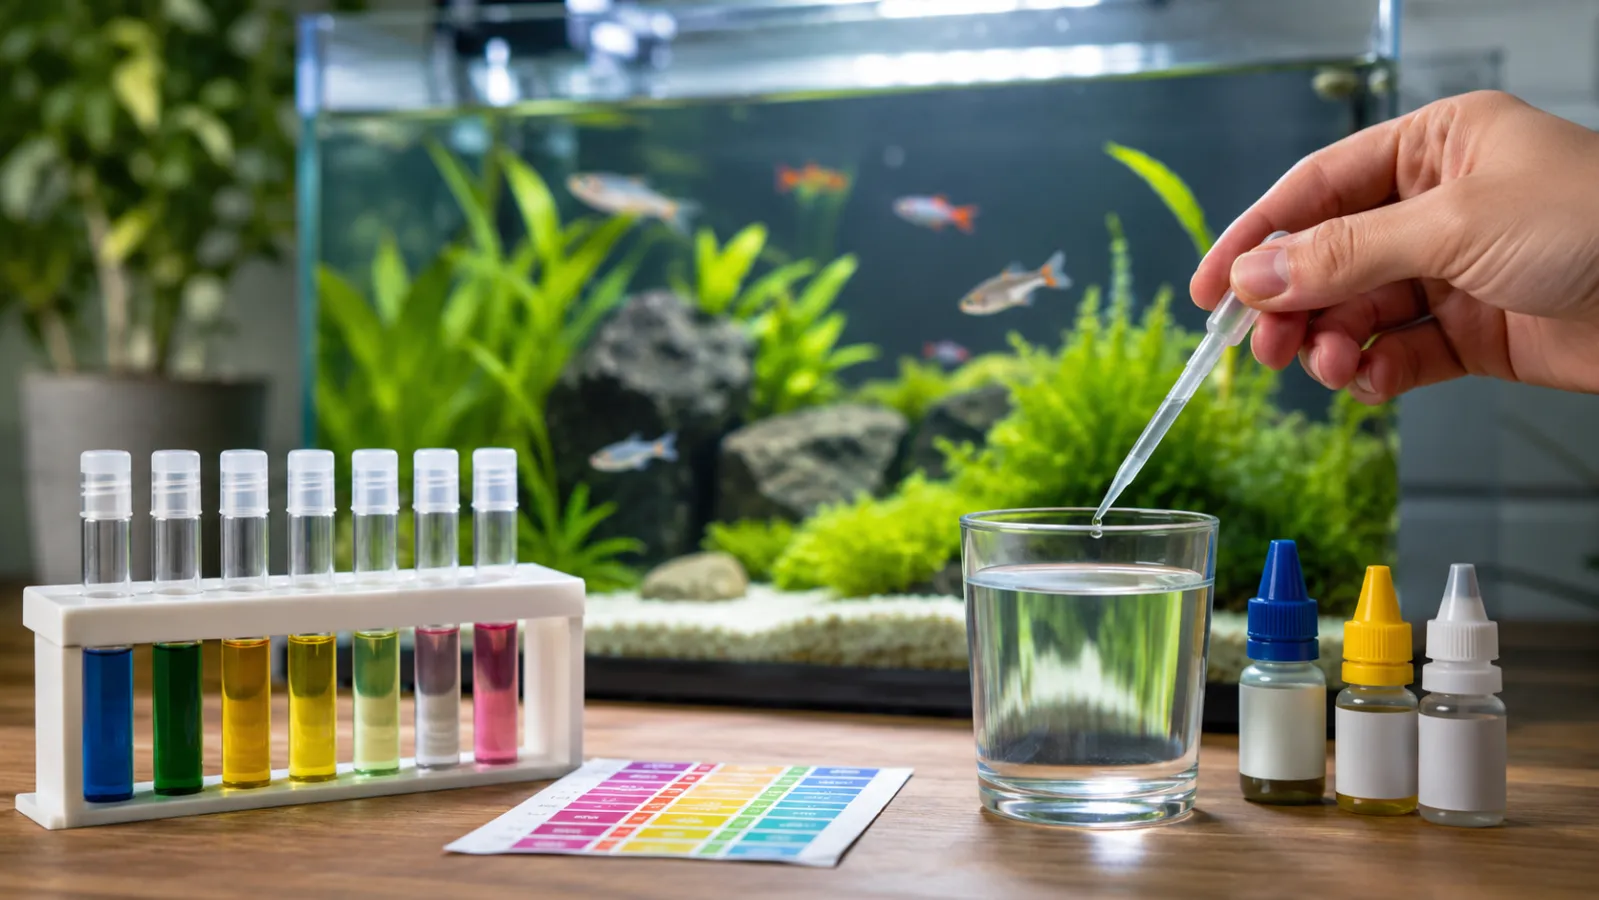
16. Use Water Testing to Guide Your Routine
Water testing is one of the best ways to determine whether your current water-change routine is sufficient.
Important parameters for many freshwater aquariums include:
- Ammonia
- Nitrite
- Nitrate
- pH
Depending on the species and setup, you may also monitor hardness, salinity, phosphate, calcium, or other parameters.
If nitrate remains consistently higher than appropriate for your aquarium, you may need to increase the frequency or amount of partial water changes.
If ammonia or nitrite is detected in a stocked aquarium, investigate the cause immediately rather than relying only on your normal maintenance schedule.
Water testing makes water changes more purposeful.
17. Be Extra Careful With New Aquariums
New aquariums require additional attention because their biological filtration system is still developing.
During cycling, ammonia and nitrite can rise to dangerous levels.
A partial water change may be necessary in certain situations, particularly if livestock is already present and water quality becomes unsafe.
However, a water change does not replace the need to establish biological filtration.
Continue monitoring water parameters and avoid adding more livestock than the developing aquarium can safely support.
A new tank should be treated as a developing ecosystem rather than a finished one.
18. Be Careful After Adding Fish or Other Livestock
Adding new animals increases the biological load of the aquarium.
After introducing new fish, shrimp, or other livestock, monitor water quality more closely.
Pay particular attention to ammonia and nitrite.
If your aquarium suddenly develops elevated waste levels after adding livestock, your biological filtration may need time to adjust to the increased load.
This is another reason to add livestock gradually rather than filling an aquarium to its maximum capacity immediately.
19. Do Not Feed Heavily Before or After a Water Change
Feeding habits are an important part of aquarium water quality.
Avoid using a water change as an excuse to give fish excessive food before or after maintenance.
Uneaten food contributes to waste and can increase the biological load.
Instead, maintain a normal feeding routine and remove obvious uneaten food when necessary.
In a healthy aquarium, responsible feeding and regular water changes should work together.
20. What If the Water Becomes Cloudy After a Water Change?
Some temporary cloudiness can occur after maintenance, especially if the substrate has been disturbed.
Fine particles may become suspended in the water and gradually settle or be captured by mechanical filtration.
However, persistent cloudiness may have other causes, including:
- Bacterial bloom
- Excess organic waste
- Overfeeding
- Poor filtration
- Substrate disturbance
- Excessive stocking
If the water becomes cloudy, check your filter and test important water parameters rather than immediately performing repeated large water changes.
Repeatedly changing water without identifying the underlying cause may not solve the problem.
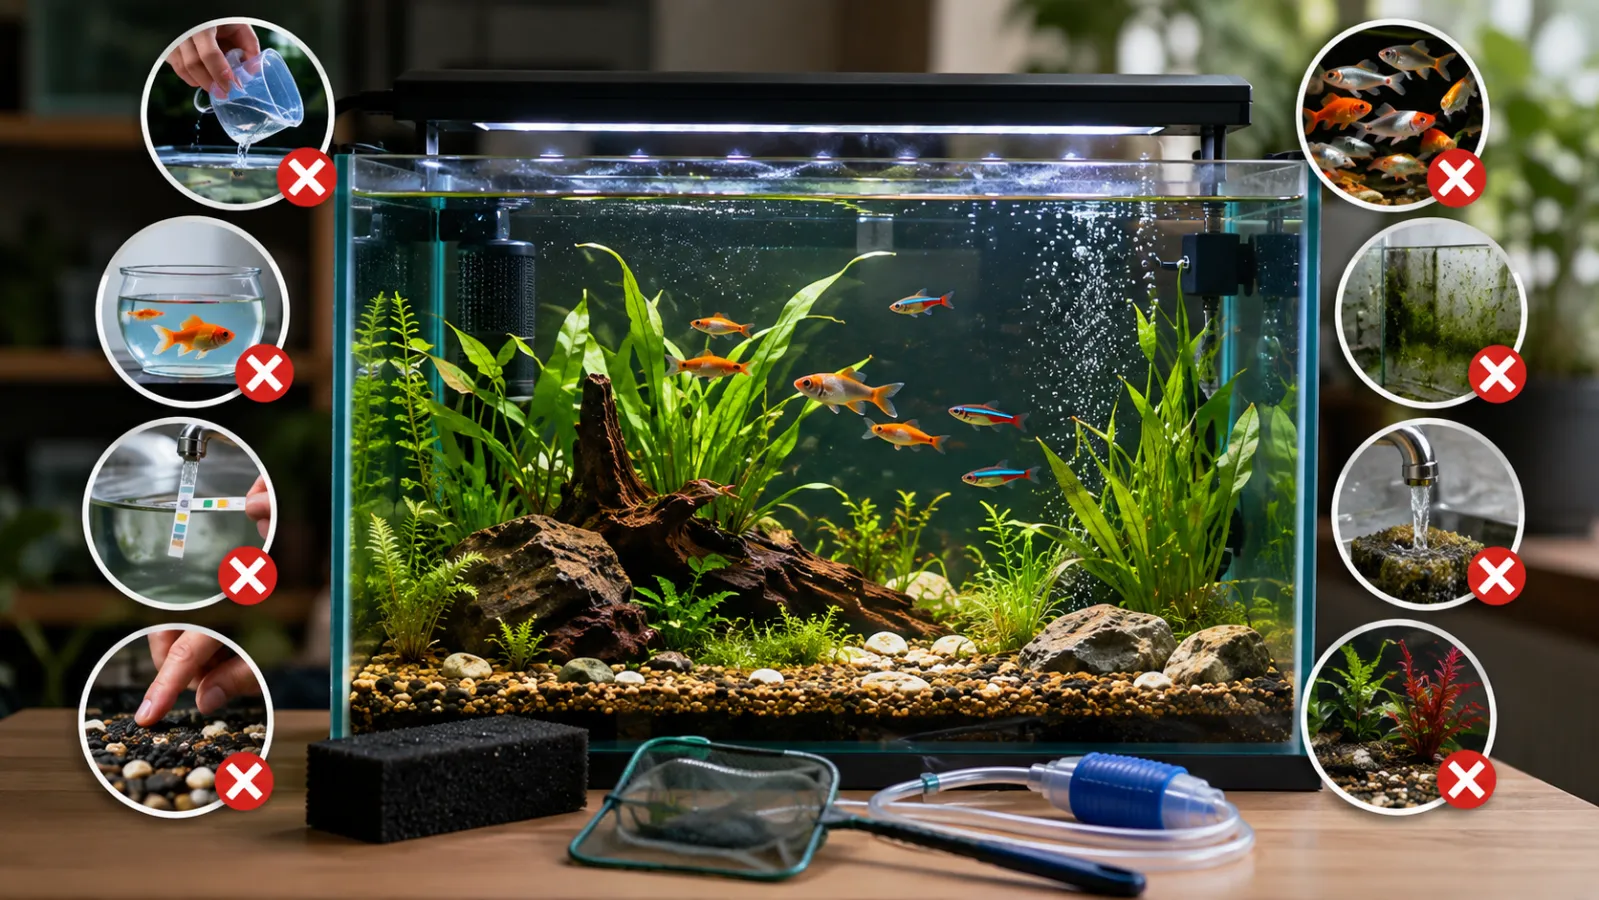
Common Aquarium Water-Change Mistakes to Avoid
Using untreated tap water: Chlorine or chloramine can harm fish and beneficial bacteria.
Using water that is dramatically different in temperature: Sudden temperature changes can stress fish.
Changing nearly all the water: Large changes can create unnecessary shifts in aquarium conditions.
Using soap or household cleaners: Chemical residues can be dangerous to aquatic life.
Cleaning all filter media at once: This can reduce beneficial bacteria.
Vacuuming the entire substrate aggressively: Excessive disturbance can disrupt the aquarium ecosystem.
Pouring water in too quickly: This can disturb plants and substrate.
Ignoring water test results: Testing helps determine whether the current maintenance routine is actually working.
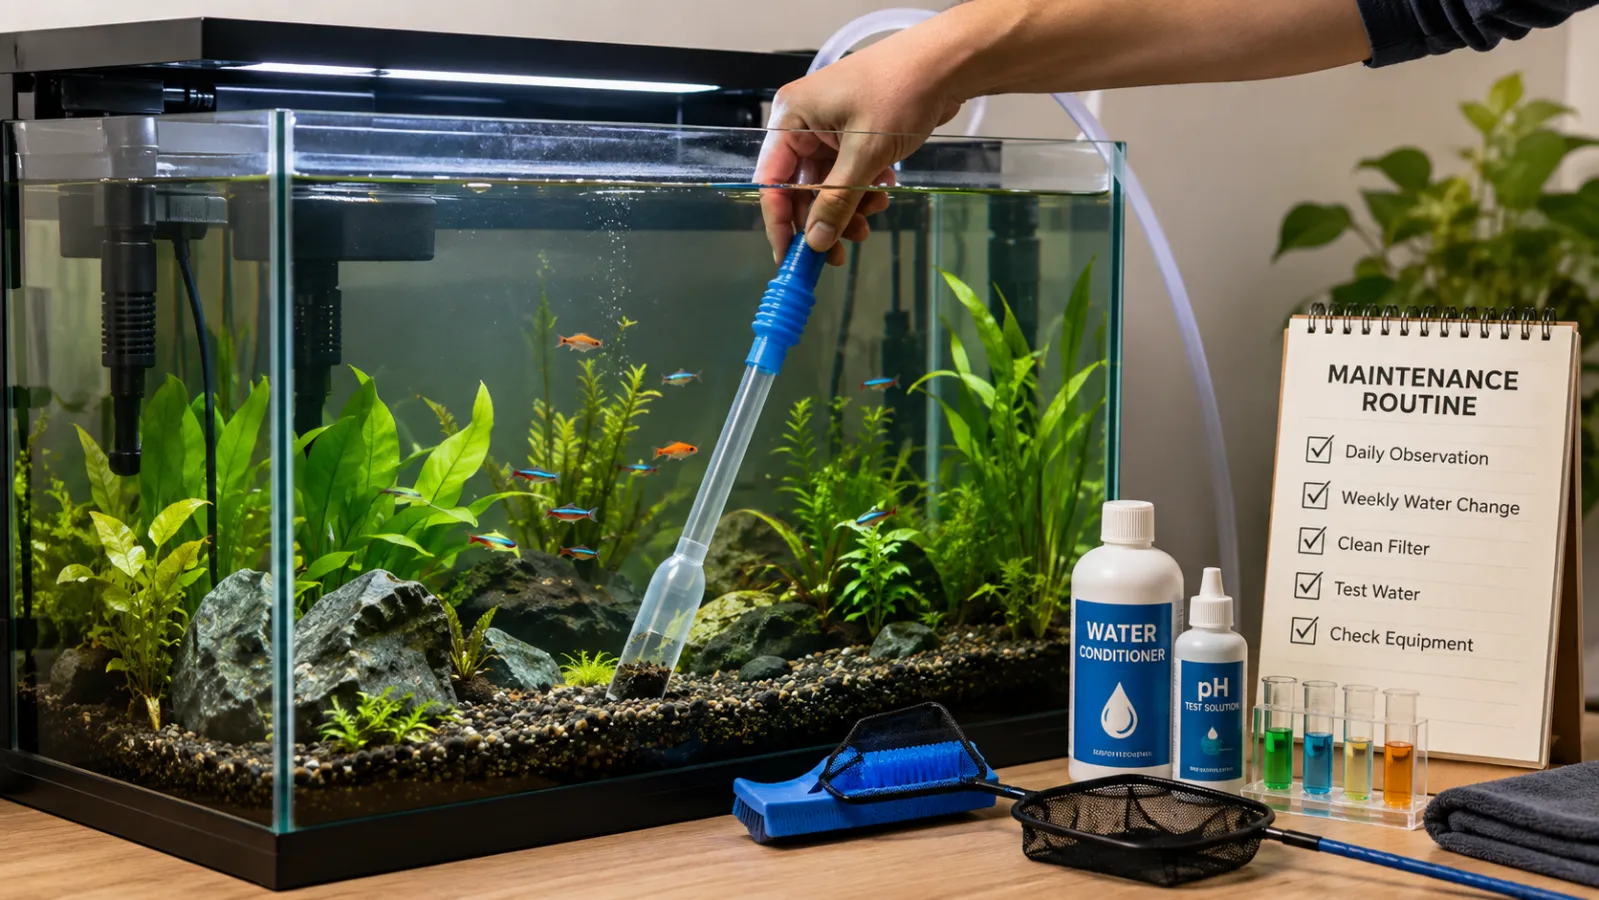
A Simple Safe Water-Change Routine
For beginners, the process can be simplified into a consistent sequence.
Step 1: Prepare a clean aquarium-only bucket and your maintenance equipment.
Step 2: Prepare replacement water and add an appropriate water conditioner.
Step 3: Check the replacement water temperature.
Step 4: Turn off or safely manage equipment according to manufacturer instructions.
Step 5: Remove an appropriate portion of aquarium water.
Step 6: Vacuum areas of the substrate where waste has accumulated.
Step 7: Remove visible waste and clean algae from the glass as needed.
Step 8: Inspect the filter and clean reusable media appropriately if maintenance is required.
Step 9: Add the prepared replacement water slowly.
Step 10: Check the water level and temperature.
Step 11: Restart equipment and make sure everything is operating correctly.
Step 12: Observe the aquarium and fish after the water change.
This routine can become a simple weekly habit for many aquarium owners.
Final Thoughts
Performing a safe aquarium water change is not about removing as much water as possible or making every surface perfectly clean. The goal is to improve water quality while preserving the aquarium's biological stability.
Prepare replacement water properly, treat tap water appropriately, remove an appropriate amount of old water, vacuum waste carefully, and avoid disturbing the aquarium more than necessary.
Pay particular attention to temperature and other important water conditions. Clean filter equipment carefully and protect the beneficial bacteria that support biological filtration.
For aquarium owners across North America, source water can differ considerably between communities, so understanding your tap water is also an important part of safe aquarium maintenance.
A consistent partial water-change routine, supported by regular water testing and responsible feeding, can make aquarium care easier and more predictable.
Most importantly, remember that aquarium maintenance is about stability, not perfection. A healthy aquarium does not need to be completely stripped down during every cleaning session. With careful water changes and regular maintenance, you can keep your fish's environment clean, stable, and healthy for the long term.